Appearance
Creating Your First Image BitVector-specific
So you've just joined us over here at BitVector, I'll bet you're ready to create something then! Lets start with something simple then, an image!
Before we start...
Just to double check, you've already linked your paid Graydient account, right? If you haven't, then when you try to Render something, you'll get an error message.
If you haven't already, we have instructions on how to get linked over on our getting started landing page!
There are quite a few things you can create, but for the sake of getting your foot in the door, lets just create a very simple image. You can even copy my example prompt, it'll be down in the next section!
Imitation is the finest form of flattery, right?
Like the majority of this Wiki, we'll provide a set of instructions for both platforms - one for Discord (via our Vector bot), and one for Spyglass (our web app).
Rendering in Discord
TIP
These instructions will work regardless of following them in the BitVector Discord, your DM with Vector, or within your own Server (if you've added Vector to it) - as does most of our Discord actions!
Rendering within Discord is extremely easy, there are primarily two commands for doing this - /ai render and /ai workflow. There is a distinction, but there will be time to cover that later. For now we'll use the /ai workflow command to run the zimage-turbo Workflow with a given prompt. It supports many other options, but we'll skip those for now.
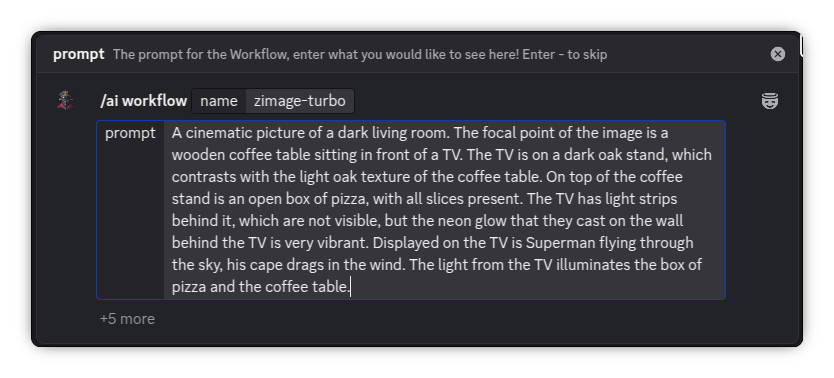
After typing /ai workflow, Discord will ask you to type a Workflow name, use zimage-turbo and then move over to the prompt field.
In the prompt field, you can enter in any prompt that you want to use! Earlier today, I had some pizza alongside a TV show that I've been watching - lets see if we can recreate that experience:
Example Prompt
A cinematic picture of a dark living room. The focal point of the image is a wooden coffee table sitting in front of a TV. The TV is on a dark oak stand, which contrasts with the light oak texture of the coffee table. On top of the coffee stand is an open box of pizza, with all slices present. The TV has light strips behind it, which are not visible, but the neon glow that they cast on the wall behind the TV is very vibrant. Displayed on the TV is Superman flying through the sky, his cape drags in the wind. The light from the TV illuminates the box of pizza and the coffee table.
Your message field should look something like this:
Heads up!
When performing a Render via any command, the results will be posted in the channel you run the command in. When generating content that could be considered NSFW, please ensure you do so either in a channel marked Age-Restricted, or in a DM with Vector. This applies even outside of the BitVector Server, as these are the standard guidelines of Discord's Terms of Service.
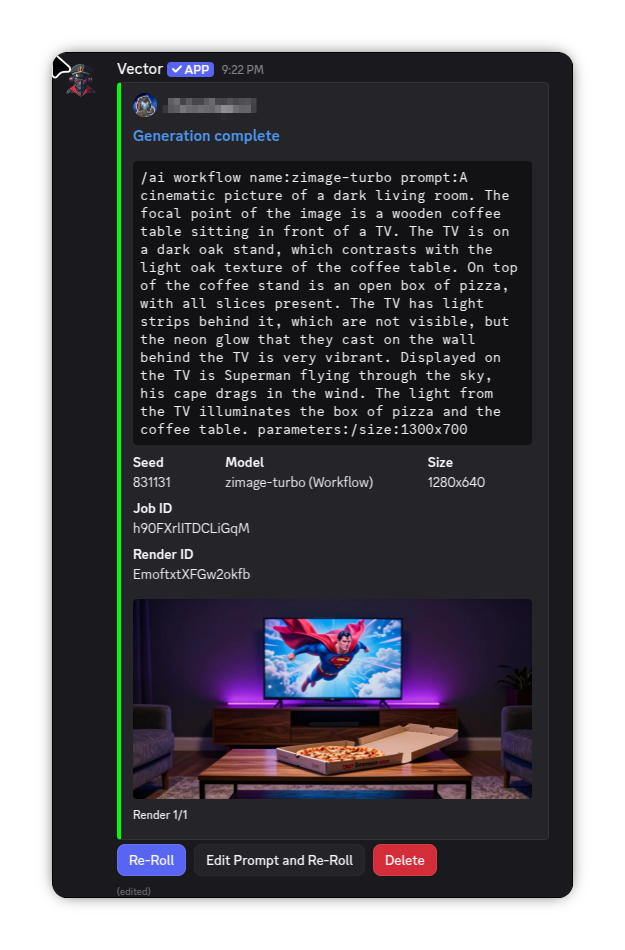
Great! Now press enter, Vector will acknowledge your request and will advise you that your request is being rendered. Then a few moments later, presto - all done!
Did you reaaaaally love that image? 😍 Click here for a full preview of that image! You can create these share links by using the
/utilities share-rendercommand. If you didn't though, don't worry, I won't hold it against you.
Now do it again! ... And again, and again, and again...
At the top of the results embed is an exact copy of the command you just ran to create that request - this lets you easily copy it to then easily modify and tweak. When you paste it back into your message box, Discord should automatically "convert" it back to the command-style input mode. You can also easily re-roll the entire request, or edit the prompt before re-rolling. And of course, a Delete button will indeed delete the Render!
Rendering in Spyglass
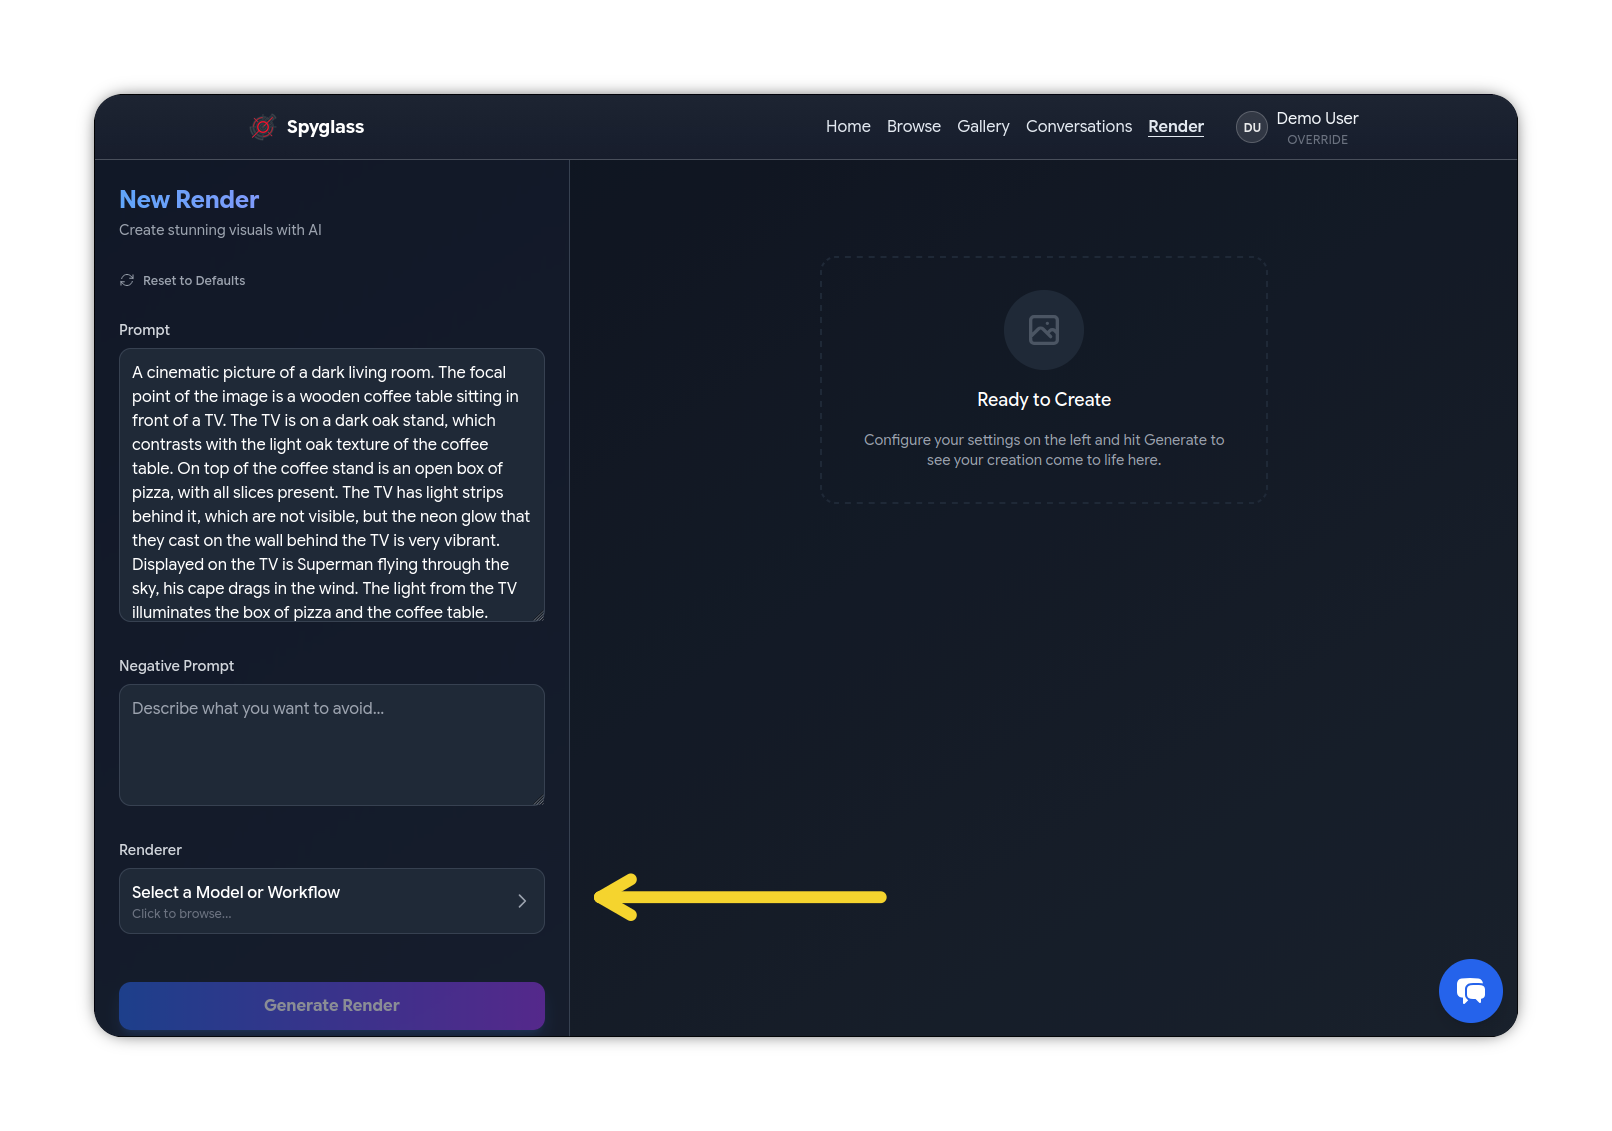
Creating a Render via our Spyglass UI is simple too! Once you're signed in, click the Render link at the top (on mobile, click the "Hamburger" menu at the top right to open the menu), that will take you to the Render Studio page. We're going to perform the same Render, but via Spyglass this time - and just like before, we'll keep it simple and only mention the required options for now.
The initial state of the page shouldn't be too daunting though! Go ahead and enter either the prompt from earlier, or use a new one! Then click the Select a Model or Workflow button:
Data Incoming!
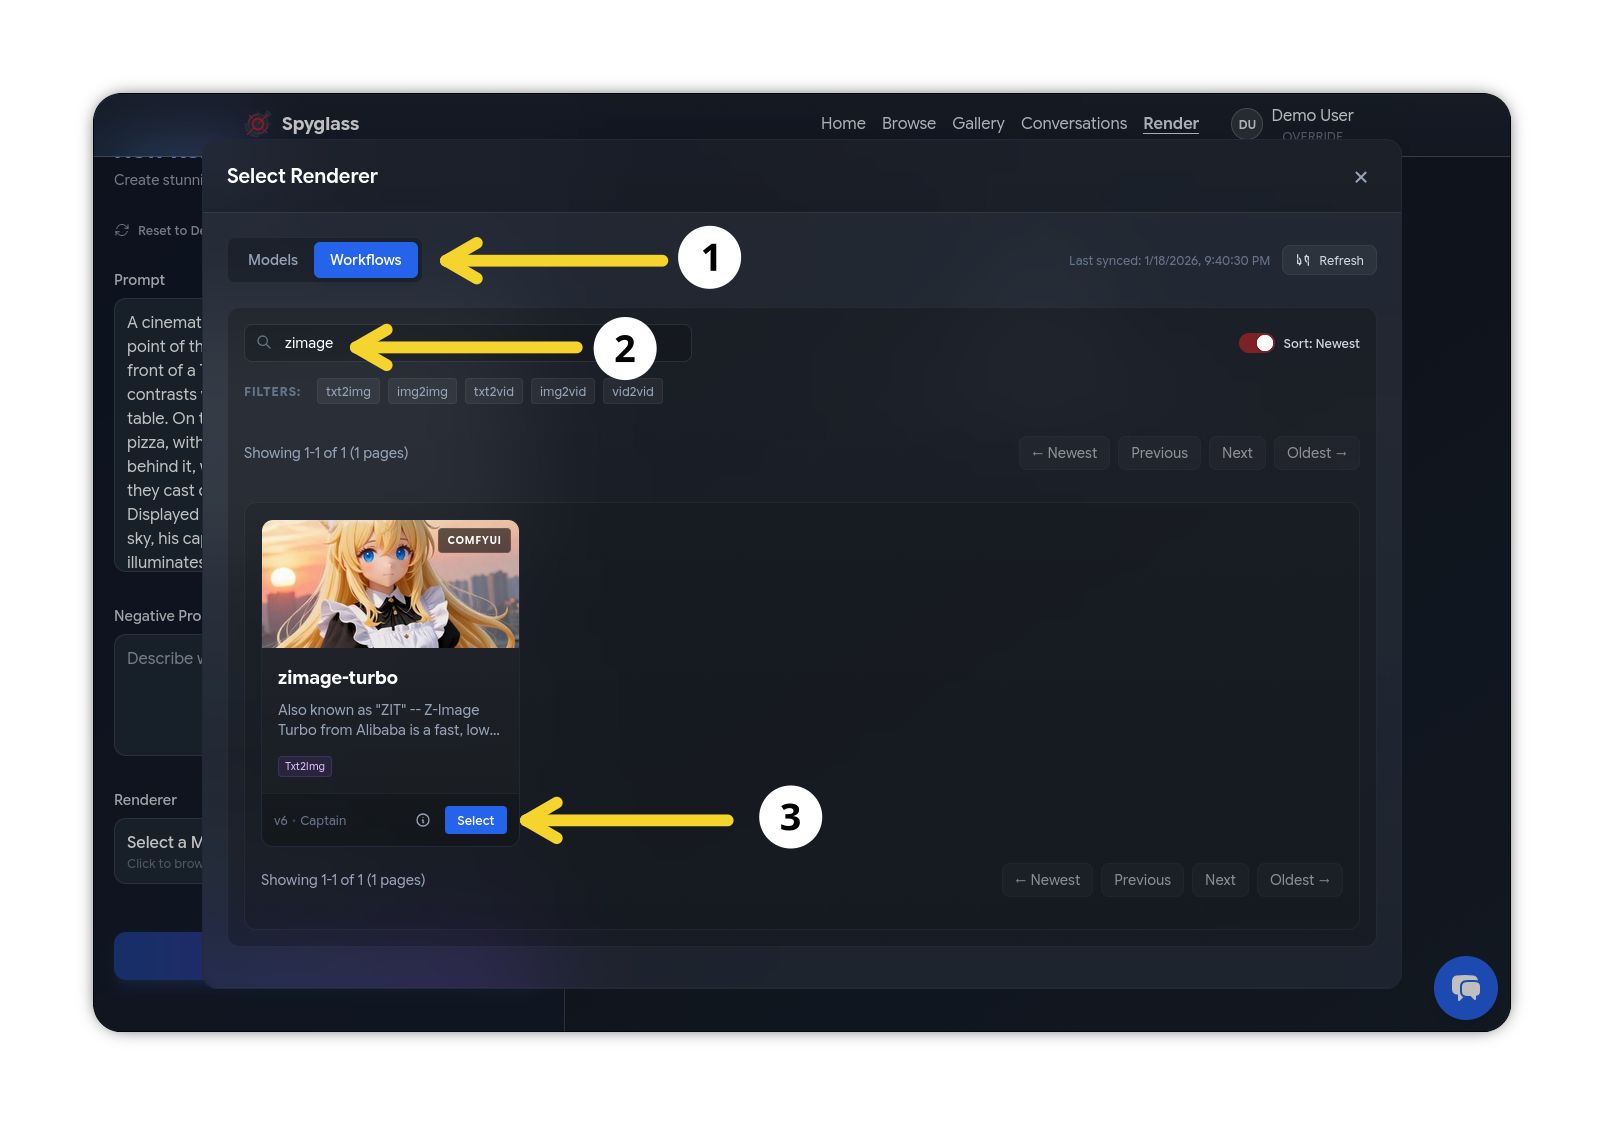
Spyglass needs to know what Models & Workflows are available in order to show you these, after clicking on the selection button, you may see a syncing dialog box. As it notes, this only occurs periodically, but depending on your connection, it may take a few seconds to run.
We're going to use the zimage-turbo Workflow again for the sake of consistency, so click the Workflows tab at the top left, then search zimage, and finally click the Select button next to the zimage-turbo card:
Don't be scared!
Once you've done that, a lot of available settings are going to come up - but don't be intimidated! The thing about Workflows is that they tend to have a lot of knobs available for you to turn, however they are created with ideal defaults. That means if you want to change them you can, but you absolutely don't have to.
Keeping in mind the above note, we're going to skip all of the available settings, scroll down to the very bottom of the page and press Generate Render. After a few moments of some pixel mashing behind the scenes, the results will be in (though you may need to scroll back up a little)!
🤓 Did you know, Renders are created by the process of nuclear fusion - except with pixels instead of atoms! If the world explodes, I'm blaming you for smashing too many pixels together!
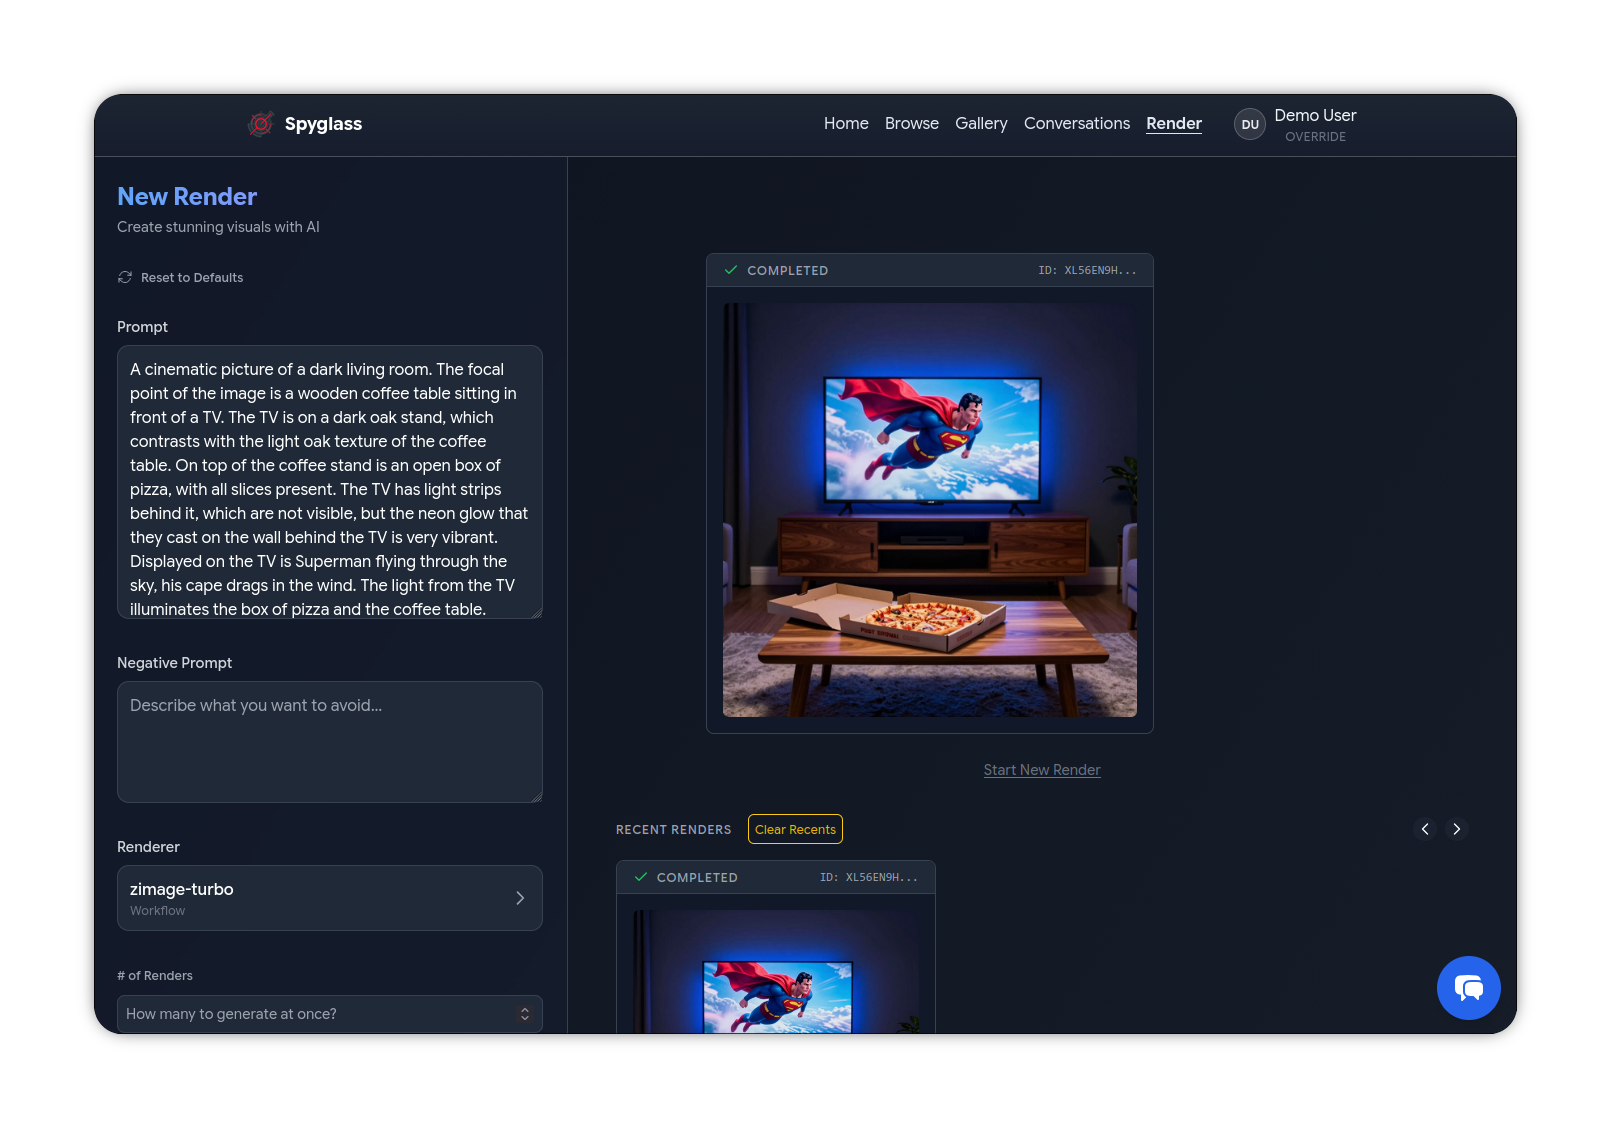
You can click the preview to bring up a larger view of the image (and then click it one more time to go completely full screen), and it will also show some metadata about the image too.
Okay you definitely liked that result right? Here's a share link so that you can view it in its full glory! On a side note, all of these pizza images are making me hungry again... thankfully I've got leftovers still! 🍕 And more shows to go with it, too!
Conclusion
Congrats, you've made it to the end! That's just the tip of the iceberg on the things you can create, all you have to do is come up with an idea, and let us be the paintbrush that brings your ideas to life!
Homework!
Now that you've created your first image, try tweaking the prompt a bit! Or try a different Workflow! The sky truly is the limit as the tech continues to evolve.
Though, if you have actual homework, you should probably do that too... After this!
Which platform did you choose first? Was it Discord, or was it Spyglass? Now try these steps in whichever platform you didn't use, then you will be on your way to being a BitVector and Graydient professional!
Once you're ready, try having a look at some of the other pages! We'll start going more in-depth as the pages go on, there's a lot to cover! If you ever have any questions though, please do not hesitate to reach out!